Integrate Grafbase with Clerk
The first step is to create a new Clerk application from your Clerk Dashboard if you haven’t done so already. You can choose whichever authentication strategy and social sign-in providers you prefer. For more information, check out our Set up your application guide.
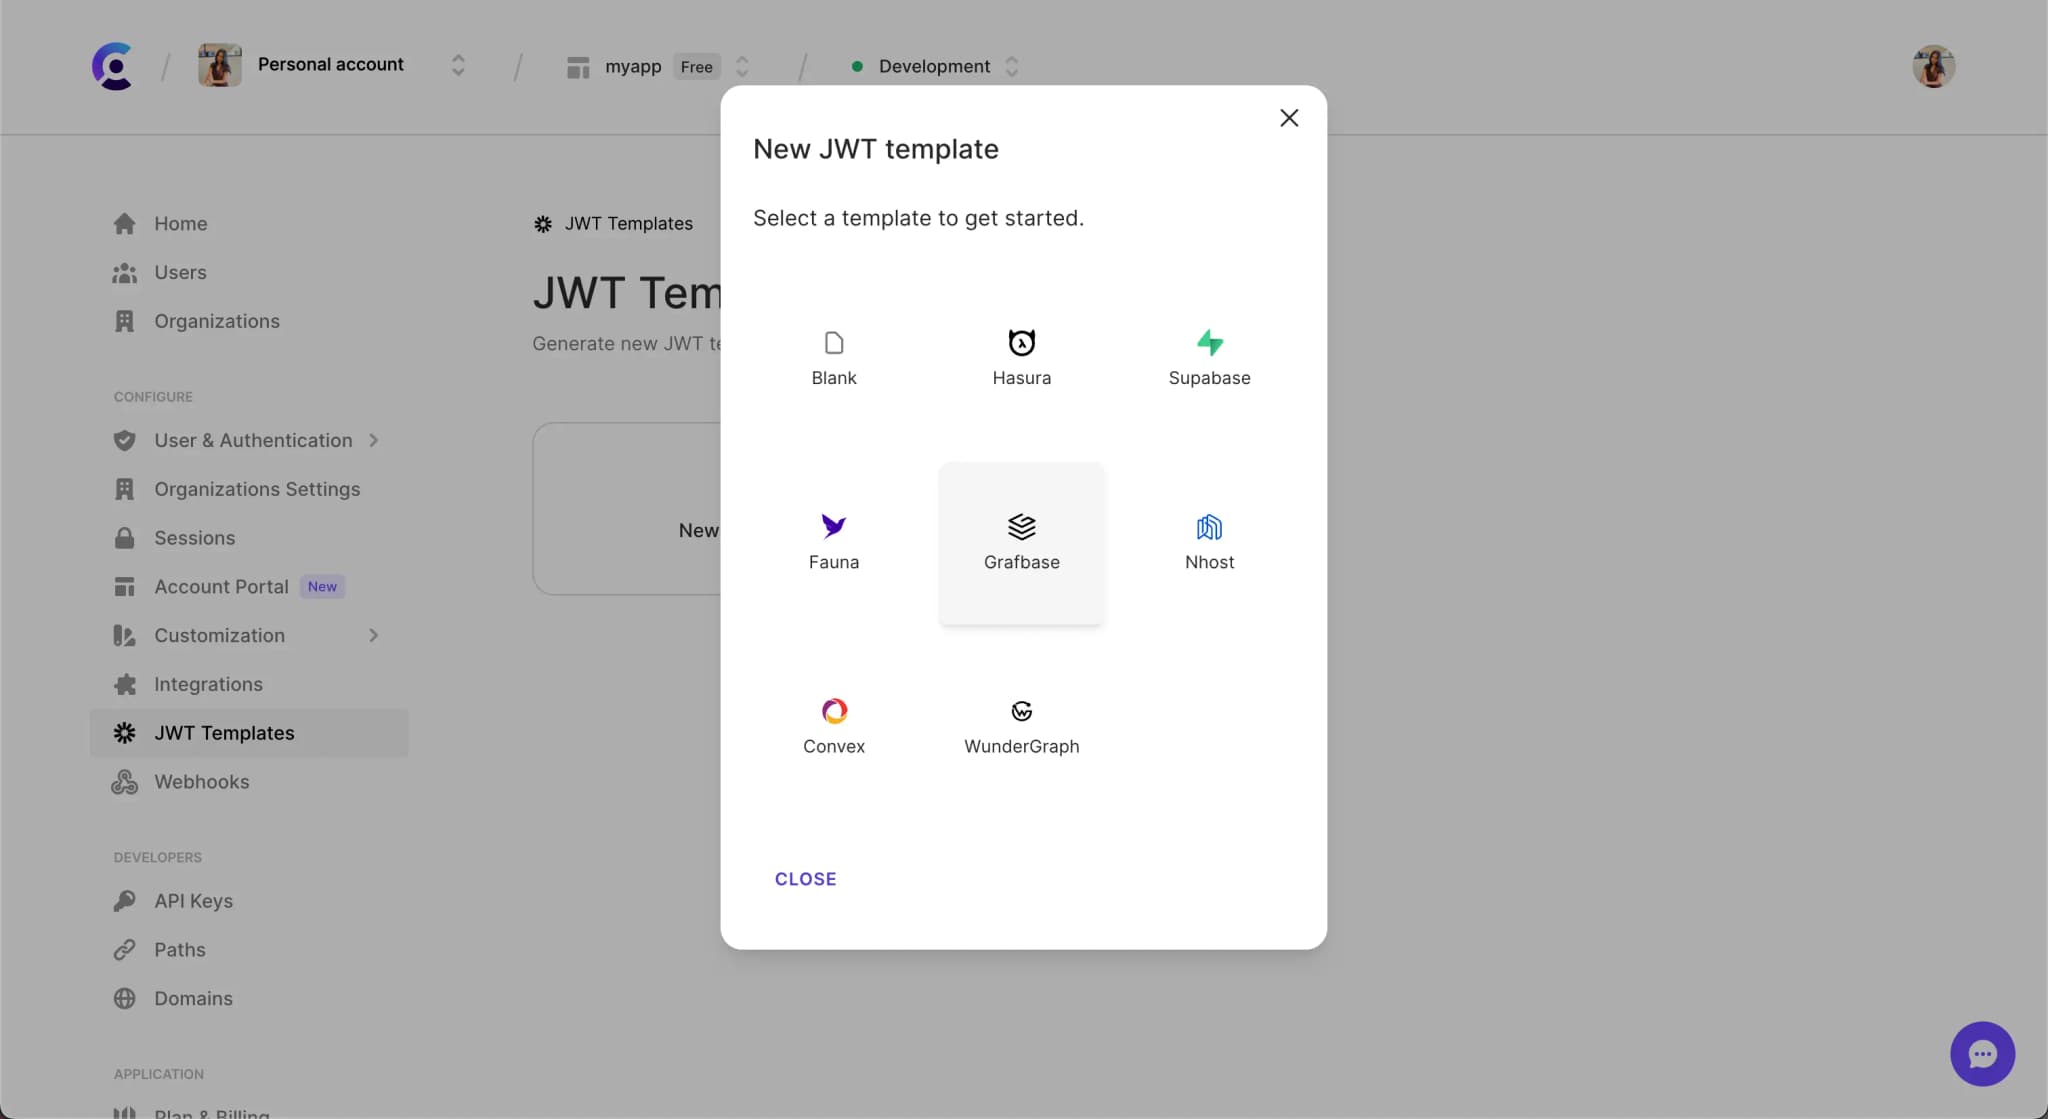
After your Clerk application has been created, go to the Clerk Dashboard and navigate to the JWT Templates(opens in a new tab) page. Click on the New template button to create a new template based on Grafbase.

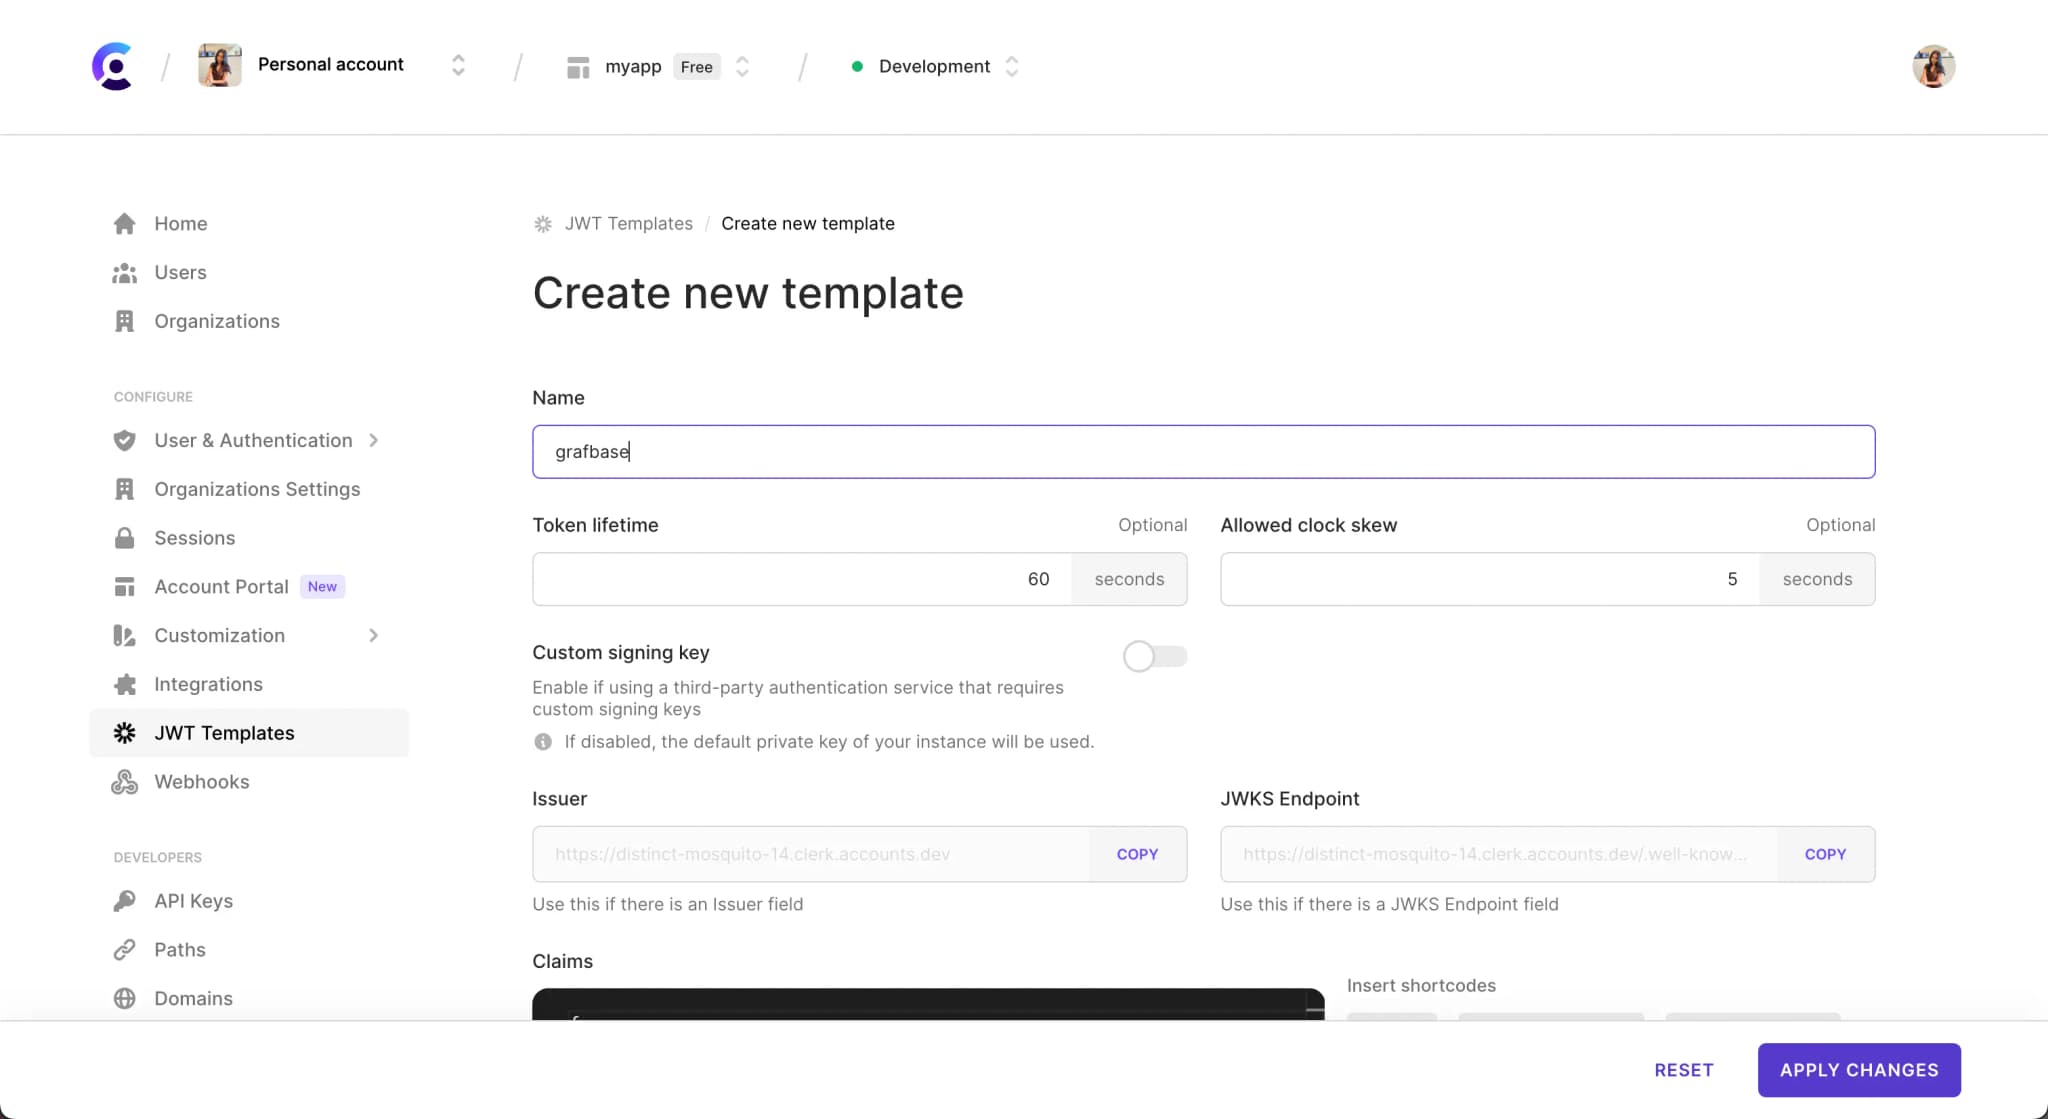
Once the Grafbase template is created, you will be redirected to the template's page. You can now configure the template to your needs.

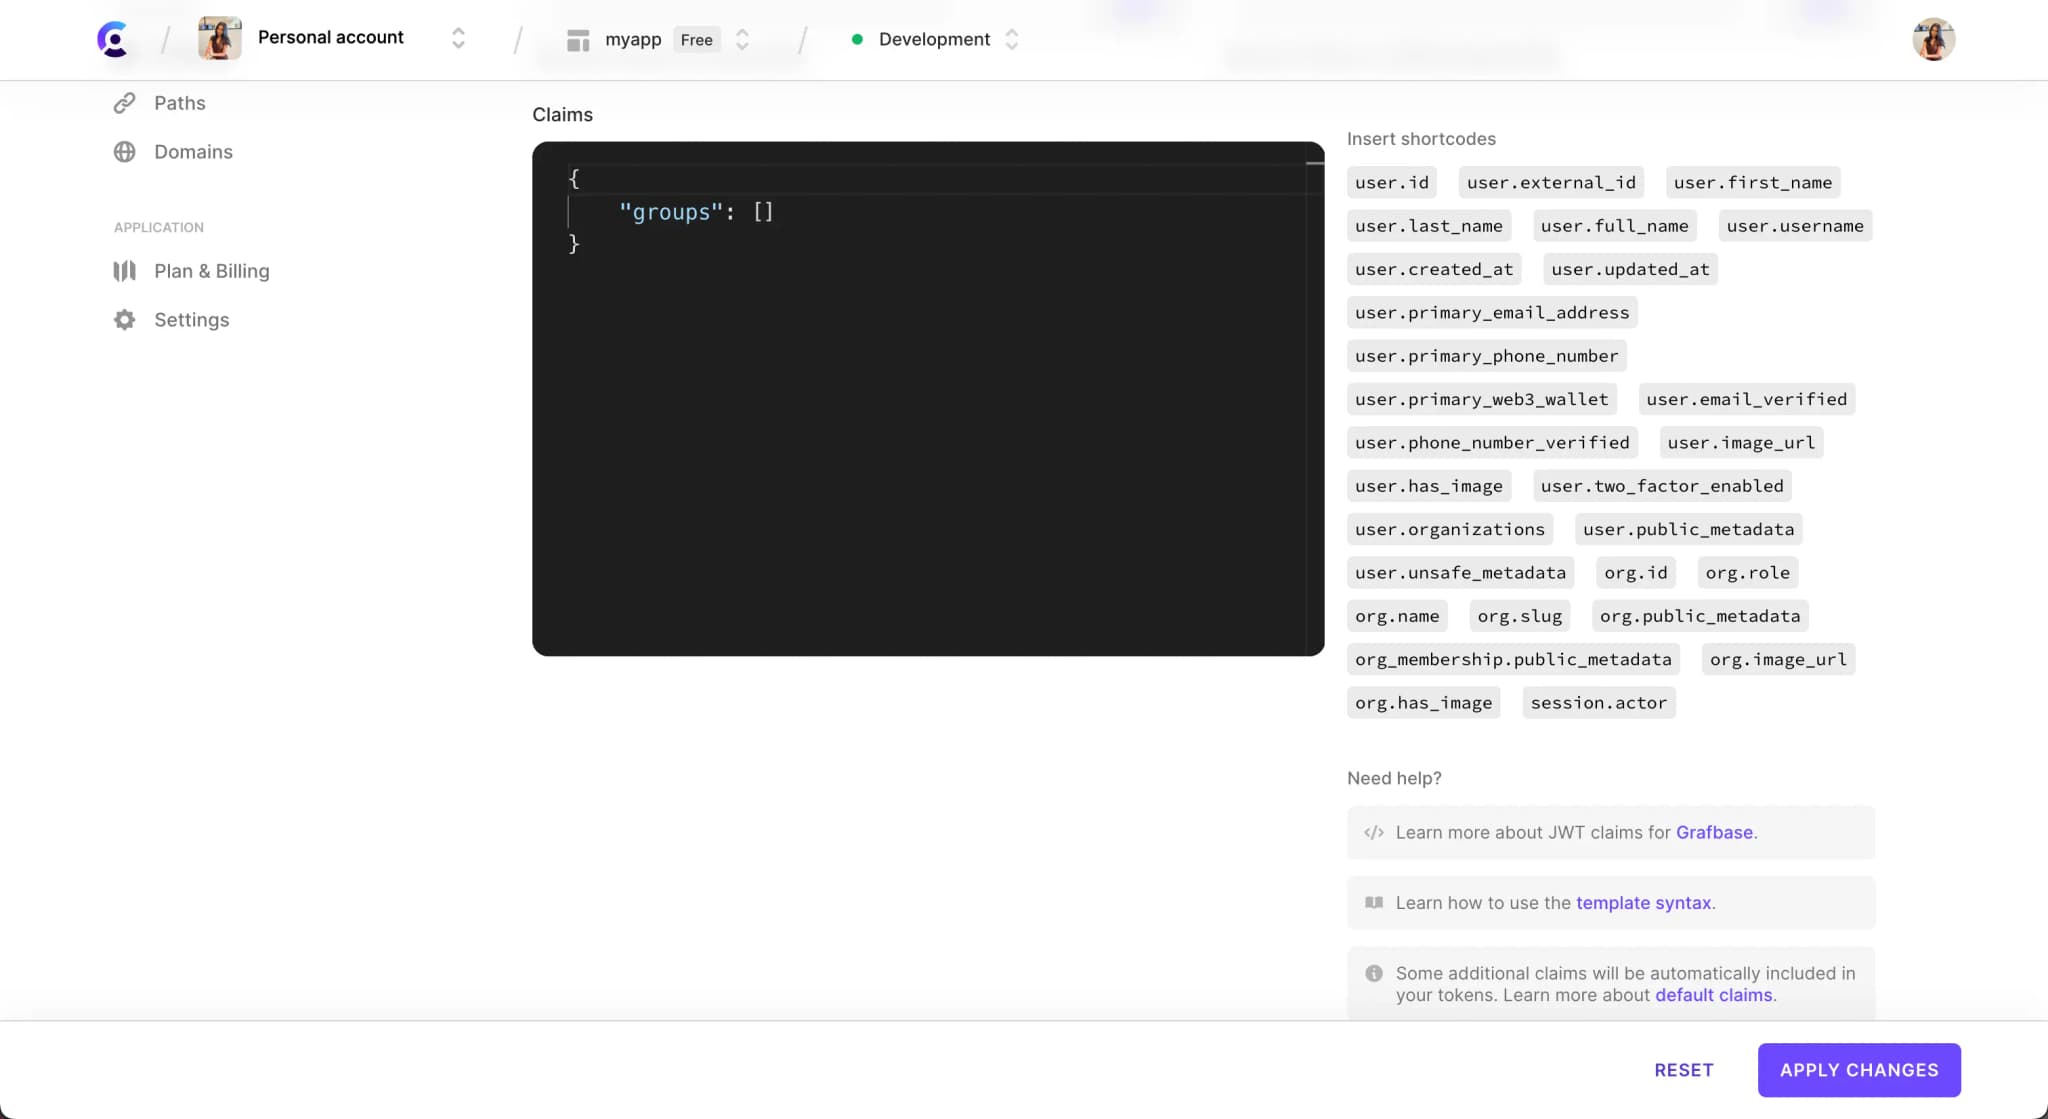
The Grafbase template will pre-populate the default claims required by Grafbase. You can include additional claims as necessary. Shortcodes are available to make adding dynamic user values easy.
If your GraphQL API restricts access based on groups, you’ll need to specify the users groups in the groups claim.

Configure Grafbase
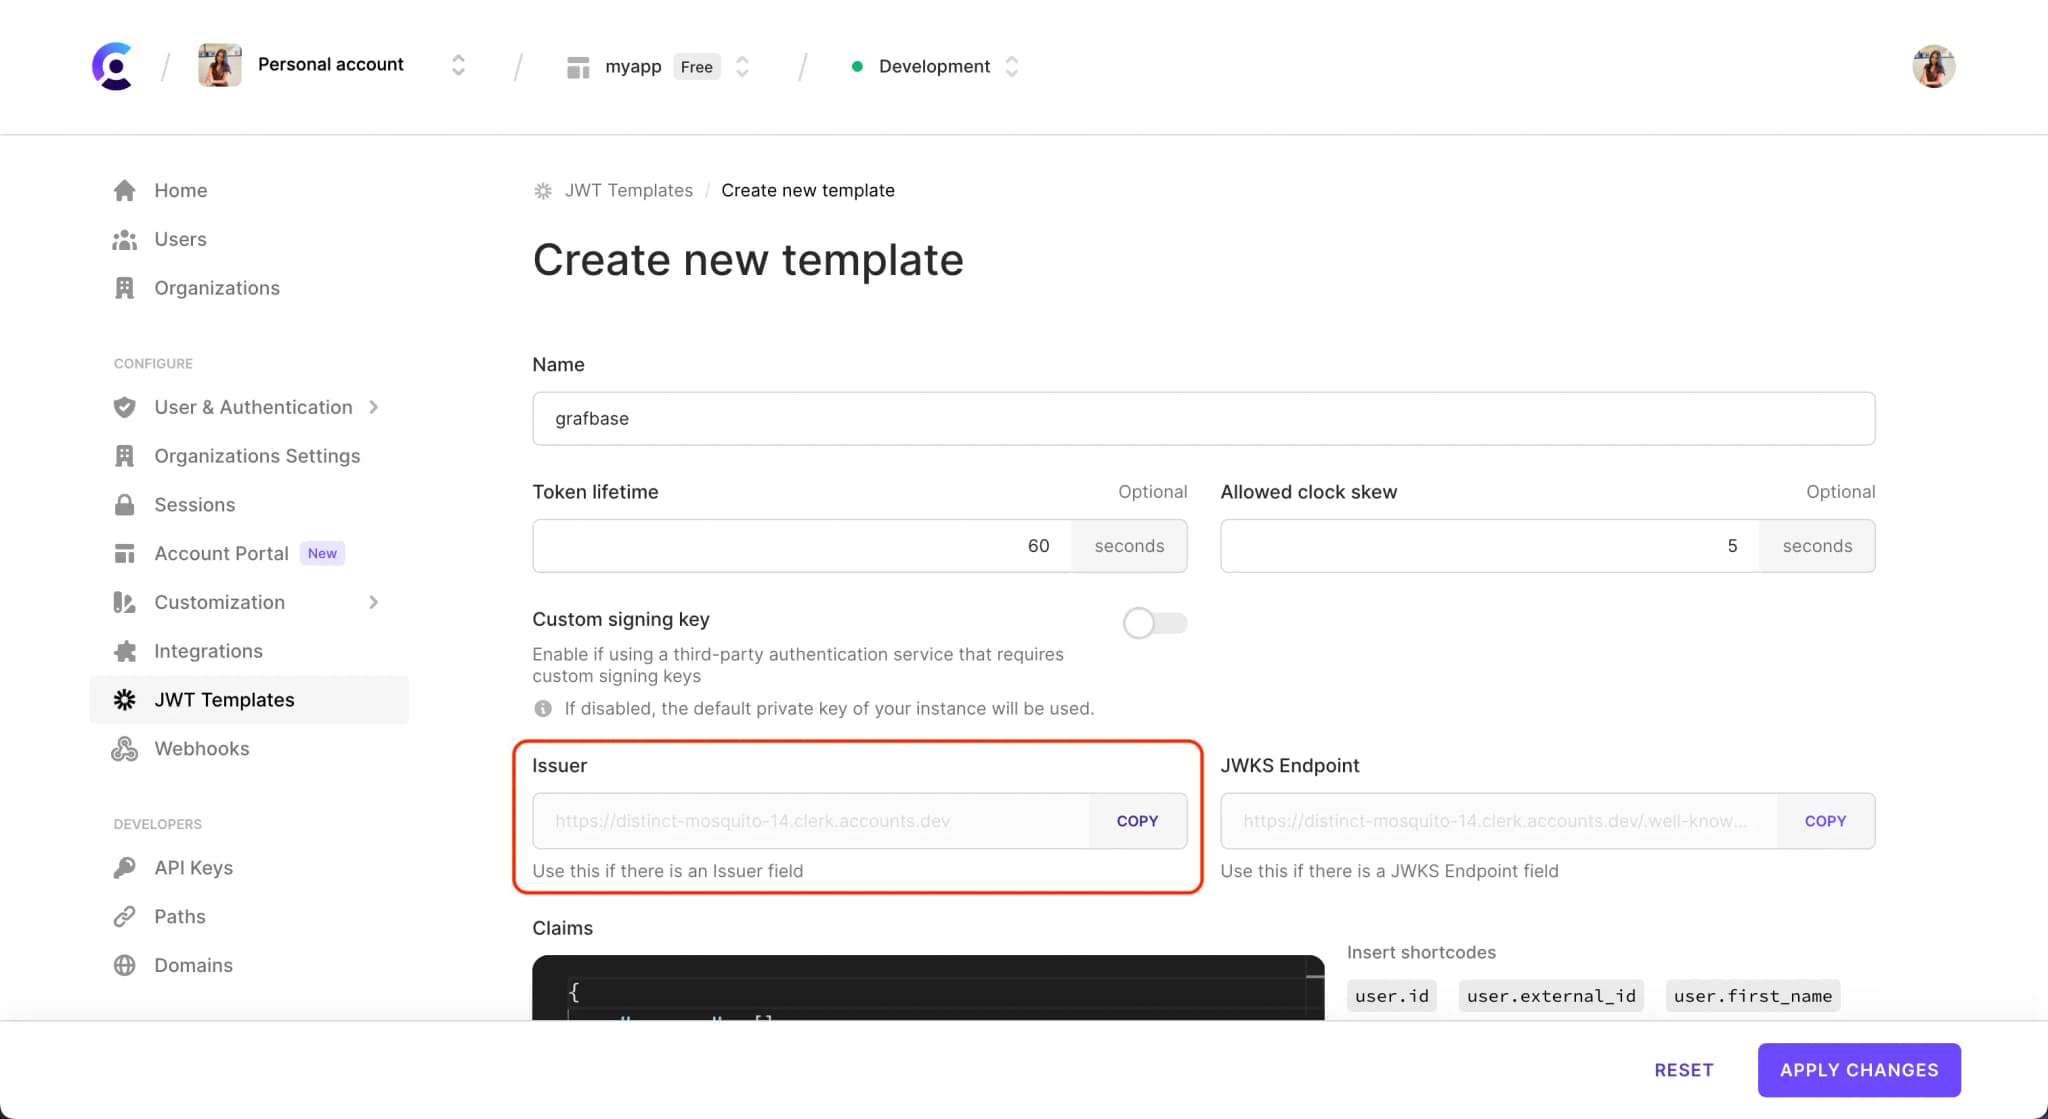
The next step is to configure Grafbase with the issuer domain provided by Clerk. From your Clerk JWT template screen, find the Issuer input and click to Copy the URL.

Signed in user authentication
If you want to enable access to your Grafbase data for any signed-in user, then you’ll want to configure your schema with the allow: private rule:
schema @auth( providers: [{ type: oidc, issuer: "{{ env.ISSUER_URL }}" }] rules: [{ allow: private }] ) { query: Query }
Make sure to set the environment variable ISSUER_URL (using the Grafbase CLI, or Clerk Dashboard) to be your Frontend API value. This value can be found in the Clerk Dashboard on the API Keys(opens in a new tab) page.
Group-based authentication
If you’re working with group-based user access then you can use allow: groups, and provide an array of groups to your schema @auth rules:
schema
  @auth(
    providers: [{ type: oidc, issuer: "{{ env.ISSUER_URL }}" }]
		rules: [{ allow: groups, groups: ["backend", "admin"] }]
  ) {
  query: Query
}
Make sure to replace YOUR_FRONTEND_API with the Frontend API value. This value can be found in the Clerk Dashboard on the API Keys(opens in a new tab) page.
If needed, you can also use a shortcode to dynamically include the users current organization's role. Shortcodes can be found and updated on your JWT template(opens in a new tab) for Grafbase in the Clerk Dashboard.
{
	"groups": ["{{org.role}}"]
}
Authenticating requests
You must send OIDC (JWT) tokens using an Authorization: Bearer TOKEN header. Your token must include the group if using group-based authentication.
The useAuth() hook os the easiest way to generate JWTs. Use await getToken({ template: "..." }) and specify your grafbase template to retrieve a new JWT.
import { useAuth } from '@clerk/nextjs'
import useSWR from 'swr'

export const useQuery = (query, variables) => {
  if (!query) {
    throw Error('No query provided to `useQuery`')
  }

  const { getToken } = useAuth()

  const fetcher = async () => {
    const token = await getToken({ template: 'grafbase' })
    const results = await fetch('YOUR_GRAFBASE_API', {
      method: 'POST',
      headers: {
        'Content-Type': 'application/json',
        authorization: `Bearer ${token}`
      },
      body: JSON.stringify({ query, variables })
    }).then(res => res.json())
    return results
  }
  return useSWR(query, fetcher)
}

const YOUR_GRAPHQL_QUERY = `
	query {
		__schema {
			types {
				name
			}
		}
	}
`

const SchemaPage = () => {
  const { data, error } = useQuery(YOUR_GRAPHQL_QUERY)
  if (error) {
    return <div>error</div>
  }
  return <pre>{JSON.stringify({ data }, 2, null)}</pre>
}

export default SchemaPage
import { useAuth } from '@clerk/nextjs'

export const ApolloProviderWrapper = ({ children }: PropsWithChildren) => {
  const { getToken } = useAuth()

  const client = useMemo(() => {
    const authMiddleware = setContext(async (operation, { headers }) => {
      const token = await getToken({ template: 'grafbase' })

      return {
        headers: {
          ...headers,
          authorization: `Bearer ${token}`
        }
      }
    })

    return new ApolloClient({
      link: from([authMiddleware, httpLink]),
      cache: new InMemoryCache()
    })
  }, [getToken])

  return <ApolloProvider client={client}>{children}</ApolloProvider>
}
Last updated on March 12, 2024